
How to Create a Temporary Tattoo Using Nail Polish
Temporary tattoos created using regular nail polish! It might sound unusual, but you can make impressive tattoos with ordinary nail polish. First, decide what temporary tattoo design you want and prepare a stencil: Draw your design on regular paper and cut out the parts you will fill in.

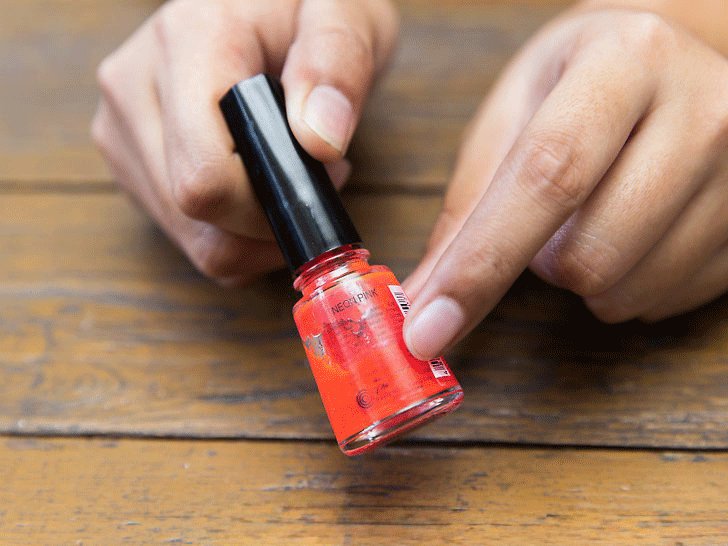
Choose nail polish colors for your tattoo—for example, red and burgundy for a two-tone look.
Place the stencil on the spot where you want your tattoo.

Apply nail polish from the edges toward the center to prevent polish from seeping under the stencil and distorting the design.

If using multiple colors, wait for the first layer to dry before applying the second color.

All done! ;) (To remove the tattoo, use regular nail polish remover.)
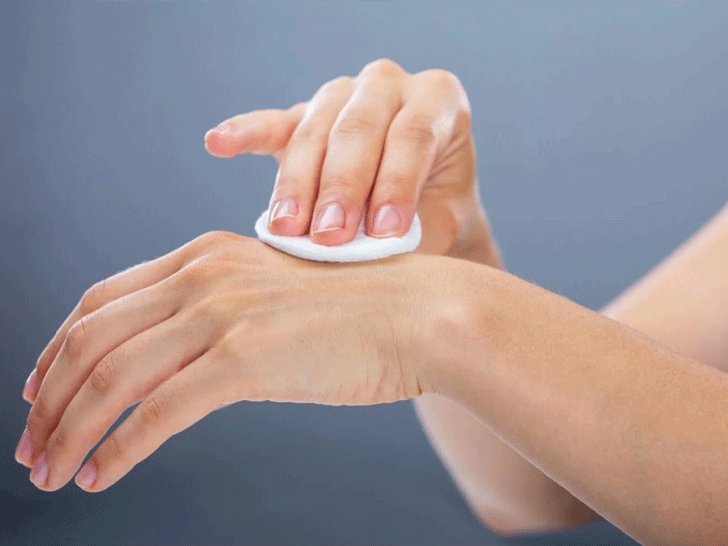
P.S. Please note that nail polish is not intended for skin use, so test on a small patch on the back of your hand first. If irritation occurs, this method isn’t for you—try temporary tattooing with a regular pencil or gel pen instead. If you found this article helpful, please give it a like below. Thank you )
Top